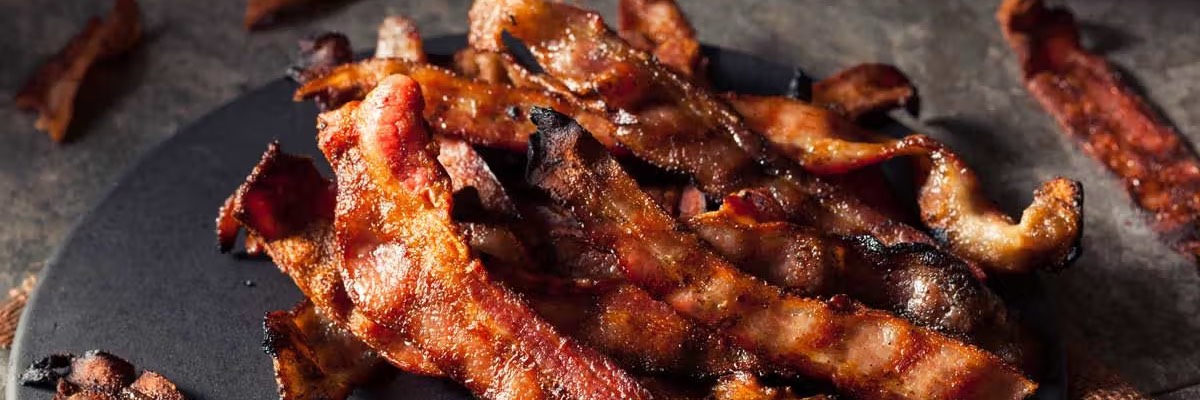
EQ Curing
Eq (Equilibrium Curing)
Although there are many bacon recipes and curing techniques out there, there is one that is a relatively modern technique that may work well for both a novice and experienced bacon maker.
This is called the EQ or “Equilibrium” curing method. It’s quite simple really. A gram scale is typically used to weigh the meat. This weight is then entered into a “cure calculator” that will determine the proper amounts of salt, sugar, and cure #1 according to preset percentages (these percentages can be adjusted for taste). Typically, salt is set at 2% of the meat’s weight and sugar at 1%. Cure #1 contains 6.25% nitrite and is translated through the formula to .25% of the weight of the meat.
Steps for dry EQ cure
-
Weigh the boneless meat in grams.
-
Insert the weight of the meat into one of the EQ calculators (links on this page). You may have to choose skin on/off and US or EUR.
- The calculator will compute the suggested amounts of salt, sugar, and cure per the weight of the meat. Remember, the levels of the salt and sugar can be adjusted per taste and that different calculators may have different preset percentages of salt and sugar.
- Once the amounts are determined, measure them out on a gram scale and place in a small bowl or container (the tare function is very helpful with this step).
- Place the meat in a container close to its size and carefully spread the cure mix onto the meat (it may seem like a small amount compared to using a typical rub for other meats).
- Place the meat into a container (a jumbo plastic bag works great) and try to scoop any remaining cure into the bag.
- Try to empty the bag of most of the air and place the bag in the refrigerator. Flip the bag daily if possible.
- Cure for 7-14 days depending on the thickness of the meat (7-10 days minimum would be the suggested for most meat). A common guideline is 1 day per 1/4 inch of meat plus two days to be safe. It is believed to be fairly impossible to overcure using this method.
- After the curing period is over, remove the meat from the bag (some people will choose to do a light rinse at this time, however, this may not be necessary for your tastes. Many people will slice off a test piece to fry and check for saltiness. If the product is too salty at this time, you may soak the meat in water for half hour increments to draw out the salt (although using this method usually results in a pleasant salt content).
- Place the meat (out of the bag) on a rack in the refrigerator overnight to form a “pellicle”. A pellicle is a thin layer of skin that forms when the meat is air dried. This pellicle will help smoke adhere to the meat and also acts as a protective barrier for the meat.
- After drying overnight, the meat is ready to be smoked.
- After smoking allow the meat to rest in the refrigerator (time of rest depends on method of smoking- hot or cold).
- Slice and enjoy.
